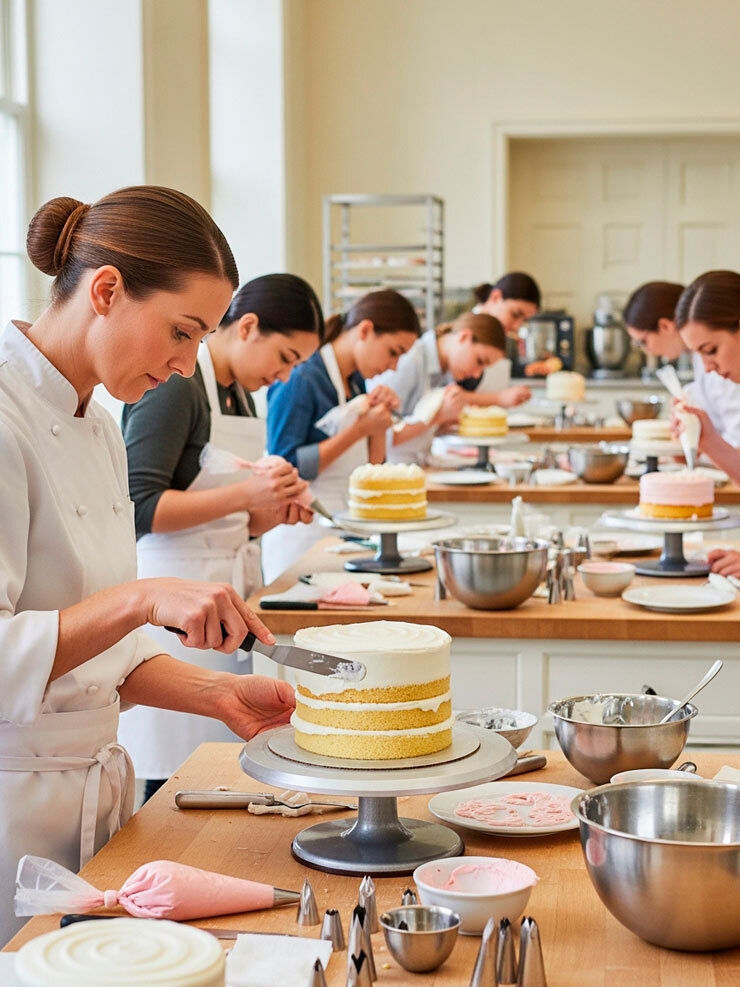
Cake Icing Classes: Techniques for a Smooth Finish
- Frosting by Feroze
- 5 hours ago
- 9 min read

A beautifully iced cake says something before a single slice is cut. It communicates care, skill, and creativity, and it makes people smile even before the first bite. Yet for most home bakers, a professional smooth finish feels like a distant goal. The buttercream drags, the crumbs show through, the edges refuse to straighten. Cake icing classes exist precisely to close that gap. Whether you dream of decorating wedding cakes with flawless tiers or simply want your weekend bakes to look as good as they taste, learning proper icing technique is the foundation on which everything else is built. This guide walks you through exactly what you will learn in cake icing classes and why it matters.
Why Learning Cake Icing Properly Changes Everything
In cake icing classes, there is a significant difference between covering a cake and icing it well. Anyone can spread frosting over a baked sponge. Getting it smooth, even, sharp-edged, and visually consistent is an entirely different skill, one that requires understanding what you are working with, not just repeating the same mistakes faster.
When it comes to baking, taste is only half the story. The way a cake looks is just as important. A beautifully decorated cake makes people smile even before the first bite. Whether it is a birthday surprise, a wedding centrepiece, or a treat for yourself, how you decorate your cake can take it from just okay to absolutely wow.
Cake icing classes teach you the why behind each technique, not just the steps. Understanding why buttercream needs to be chilled before a final coat, why a crumb coat matters, and why your icing consistency changes based on humidity, that knowledge makes every future project easier and more predictable.
The results compound quickly. Once your icing is smooth and consistent, every other decorating skill you add, piping, textures, fondant decorations, sugar flowers, drip effects, sits on a reliable foundation and looks exponentially more polished.
What Do Cake Icing Classes Actually Teach?
A quality cake icing class is structured progressively, building skills in the right order so nothing feels overwhelming.
The Crumb Coat
Before you even begin with fancy toppings, it is important to know how to properly crumb coat your cake. This is a thin layer of frosting that locks in crumbs, so your final layer looks smooth and clean. A good crumb coat is like a strong foundation; it makes everything else easier.
In class, you learn how thick to apply it, how long to chill it, and what consistency of buttercream works best for this step. Skipping or rushing the crumb coat is the single most common reason final icing looks messy.
Levelling and Layering
Participants learn how to torte a cake into layers, fill it, crumb coat it, and then ice it completely smooth. Levelling is non-negotiable. An uneven cake base will show through even the most careful icing job, so this step comes before any frosting touches the outside of the cake.
Final Coat and Smoothing
The key decorating techniques include crumb coating through to final touches, from creating smooth sides and sharp edges to adding contemporary details. This is where the cake smoother, bench scraper, and turntable become your closest friends. The hot spatula method, the cold scraper method, and multiple pass techniques are all covered, so you can find the approach that works best for your hands and your icing type.
Piping Basics
Learn to use a piping bag and different nozzles. Basic piping can help you create borders, stars, rosettes, or simple writing on cakes. Practice on parchment paper first to get a feel for the pressure and flow. Mastering this will give your cakes that neat, professional look.
Colour and Texture
Tinting buttercream correctly, creating colour palettes that work together, and applying textured finishes like rustic swirls, watercolour washes, and palette knife effects are all part of a well-rounded icing curriculum.
Types of Icing You Will Learn in Cake Icing Classes
Understanding which icing to use and when is just as important as knowing how to apply it. Each type has its strengths, and cake icing classes give you hands-on experience with the most important ones.
1. Buttercream Icing
Buttercream is a type of smooth and creamy icing made by beating together icing sugar, milk, and butter to create a smooth, pipeable texture. Buttercream icing is the most common type of frosting used by home bakers and professional bakeries alike. It is made up of just three main simple ingredients - butter, sugar, and milk, which make it quick to prepare and lend themselves well to colorings or flavors. Its main uses include frosting cakes and cupcakes, and as a filling for other baked goods. The stability made from the sugar and butter makes it great for piping details.
2. Swiss Meringue Buttercream
Swiss meringue buttercream is beloved by many home and professional cake decorators alike. It is very popular for frosting cakes, especially wedding cakes, because of its smooth finish and ability to hold small details. Due to the egg whites, Swiss meringue buttercream is less sweet, making it more versatile and particularly popular for wedding cakes where a refined, elegant finish is expected.
3. Ganache
When it comes to getting super straight sides and sharp edges, especially under fondant, ganache is the go-to for many decorators. Ganache, when made properly, is firm at room temperature, which means it does not need to be refrigerated and holds its shape well for days.
Ganache creates sharp, clean edges on cakes, making it ideal for fondant-covered cakes. The higher melting point of chocolate means ganache holds up well in warmer environments.
4. Fondant
Fondant is a pliable, dough-like sugar-based icing rolled out thinly and draped over cakes to create a smooth, flawless finish. It is made with sugar, water, corn syrup, and gelatin. Fondant allows for intricate designs, including stenciling, ruffles, or lace patterns. It holds up well in warm or humid environments and gives cakes an elegant, sophisticated appearance.
Fondant is also used for creating elements like flowers, figures, or bows, and covering cake boards for a clean presentation. Fondant has been used in cake decorating for centuries, but today it is commonly used in wedding and special occasion cakes.
5. Royal Icing
Royal icing is thin and hardens as it cools, making it perfect for drizzling or creating decorative finishes. The hardening quality of icing makes it ideal for detailed decorative work like intricate designs, writing, or creating sharp, clean lines. Typically used for piping decorations or covering something like a Christmas cake. If you don't colour it, royal icing is bright white and dries solid and crunchy. That means you can pipe little flowers or other decorations and keep them in a moisture-free/air-tight container for a long time
Step-by-Step: How to Ice a Cake Smoothly
This is the sequence taught in every quality cake icing class, and it works whether you are using buttercream or ganache as your base.
Step 1: Level Your Cake
Use a serrated knife or cake leveller to remove the dome from your baked sponge. All layers should be the same height before assembly begins.
Step 2: Fill and Stack
Spread your filling between each layer. Pipe a buttercream dam around the edge of each layer before adding softer fillings like fruit curds or compotes to prevent blowouts. The fillings you choose should complement your cake flavours; a zesty lemon curd filling pairs differently with buttercream than a rich chocolate ganache does, and understanding that relationship makes every bake more intentional.
Step 3: Apply the Crumb Coat
Apply a thin, even layer of buttercream or ganache over the entire cake. The goal is not perfection; it is containment. Smooth it as best you can, then refrigerate for at least 30 minutes until firm to the touch.
Step 4: Apply the Final Coat
Add a few scoops of buttercream to the top of the cake and smooth it down with your angled icing spatula until it is nice and level. Then add buttercream to the sides of the cake and glide your icing smoother over them while turning the turntable to create level sides. Fill in any gaps in the finish with more buttercream and continue smoothing until the sides are level.
Step 5: Create Sharp Edges
Once the sides are smooth, use the bench scraper to pull the excess buttercream from the edges of the top inward, creating a clean, sharp top edge. Chill again briefly before adding any decoration.
Step 6: Refine and Finish
To further refine the smoothness, you can use a hot spatula or bench scraper dipped in hot water and dried, gliding it over the buttercream to melt and smooth any imperfections.
Essential Tools for a Professional Finish
The equipment needed for icing the cake is a lazy susan or turntable, a metal spatula, an icing bag, and a plastic bench scraper or spackle tool. This unassuming little tool is what will make your life easier in smoothing a cake.
Here is the complete starter kit every student in cake icing classes should own:
Turntable: Non-negotiable. Spinning the cake while holding the smoother still is what creates even, consistent sides. A wobbly or slow turntable makes the job harder than it needs to be.
Angled Palette Knife: For spreading and smoothing buttercream on both the top and sides. The angle keeps your hand away from the cake surface.
Bench Scraper: The tool that creates sharp, straight sides. Hold it against the cake at a 90-degree angle while rotating the turntable.
Piping Bags and Tips: Essential for the crumb coat, fillings, borders, and decorative piping. Start with a large round tip and a star tip.
Cake Boards: A sturdy board under your cake makes lifting, transferring, and presenting much safer and cleaner.
Offset Spatula: Smaller than the palette knife, used for detail work and getting into tight corners on tiered cakes.
Icing Techniques Comparison Table
Technique | Difficulty | Best Icing | Best Used For | Finish Style |
Smooth Buttercream | Beginner | American or Swiss buttercream | Everyday and birthday cakes | Clean and classic |
Rustic Swirl | Beginner | Any buttercream | Casual and homemade cakes | Textured and relaxed |
Sharp Edge | Intermediate | Ganache or chilled buttercream | Formal and tiered cakes | Crisp and modern |
Fondant Cover | Intermediate | Ganache base recommended | Wedding and sculpted cakes | Satin and flawless |
Watercolour Wash | Intermediate | Buttercream base | Artistic and floral designs | Painterly and soft |
Airbrushing | Advanced | Any firm base | Competition and custom cakes | Gradient and metallic |
Common Mistakes Beginners Make
1. Skipping the Crumb Coat
This is the most costly shortcut in cake icing. Without a firm crumb coat, every pass of the final coat drags crumbs to the surface. There is no fixing it after the fact.
2. Icing a Warm Cake
A really fresh cake can sometimes be quite a challenge to frost because it is too fragile and crumbly. Always allow cakes to cool completely to room temperature before beginning. Chilling briefly in the refrigerator before the final coat helps significantly.
3. Wrong Icing Consistency
Buttercream that is too stiff drags and tears. Buttercream that is too soft cannot hold its shape. The right consistency spreads smoothly without resistance and holds a peak for three to four seconds. Learning to read and adjust consistency by feel is one of the most valuable skills taught in cake icing classes and one that directly influences how well you can keep up with cake trends for 2026 as your decorating style evolves.
4. Inconsistent Pressure
Uneven pressure on the bench scraper or spatula creates ripples and ridges. The solution is slow, deliberate movement, not rushing. Icing a cake to a smooth finish takes a lot of patience, persistence, and practice. A round cake is the easiest shape to cover with icing, so it is best to start practicing with this shape.
5. Ignoring Temperature
Buttercream has a low melting point of around 28 degrees Celsius, which makes it unsuitable for hot or outdoor events as a covering. In warm weather, buttercream can soften and bulge, creating uneven finishes. Understanding your environment and choosing the right icing for the occasion is something professional decorators do automatically.
Conclusion
A smooth, beautiful finish is not reserved for professional bakers or people with natural artistic talent. It is a skill built through understanding the right techniques and practicing them in the right order. Cake icing classes give you the guidance, techniques, experience, and the right tools to transform cakes that look just as good as they taste.
Cake icing classes at Frosting by Feroze are built on the idea that every baker deserves to feel proud of what they create. Whether you want to create a perfectly iced birthday cake, a stunning wedding cake, or just want to improve your cake decorating skills, our classes are here to make it happen. Visit our website and book your spot in our workshop to let your journey to a perfect finish begin.
FAQs
Q1. What are cake icing classes?
Cake icing classes are workshops that teach the skills for professional cake finishing, including crumb coating, smooth buttercream application, sharp edges, fondant covering, piping, and decorating techniques for all skill levels.
Q2. Do I need baking experience to join cake icing classes?
No prior experience is necessary for beginner cake icing classes. Most classes start from the very basics, including how to level and layer a cake, so complete beginners are very welcome.
Q3. What is the difference between icing and frosting?
Frosting is thick, creamy, and spreadable, ideal for coating cakes and cupcakes. Icing is thin, glossy, and hardens as it cools, perfect for drizzling or creating decorative finishes. The hardening quality of icing makes it ideal for detailed decorative work like intricate designs or writing.
Q4. Which icing is easiest for beginners?
American buttercream is the most beginner-friendly icing. It is easy to make, forgiving to apply, holds its shape well for piping, and comes in endless flavour options. Most cake icing classes start with American buttercream before progressing to Swiss meringue or ganache.
Q5. What tools do I need for cake icing classes?
The essential tools for icing are a turntable, an angled palette knife, a bench scraper, and piping bags. Most cake icing classes provide these tools and supplies so you can focus entirely on learning the technique.


Comments